Splitting Clips & Crossfading
Two edits do most of the arranging work in a project: cutting a clip in half so you can move, delete, or replace one part of it, and smoothing the join between two clips so the seam doesn’t click. This page covers both, plus the per-clip gain and fade controls that shape the edges of every clip.
Splitting a Clip at the Playhead
Split cuts one clip into two independent clips at the timeline playhead. It works on audio clips and MIDI clips, and it’s fully undoable.
How to Split
- Move the timeline playhead to the exact point you want to cut. Tapping the timeline ruler seeks there.
- Long-press the clip (or tap the ✏️ pencil icon) to open its editor.
- Tap Split.
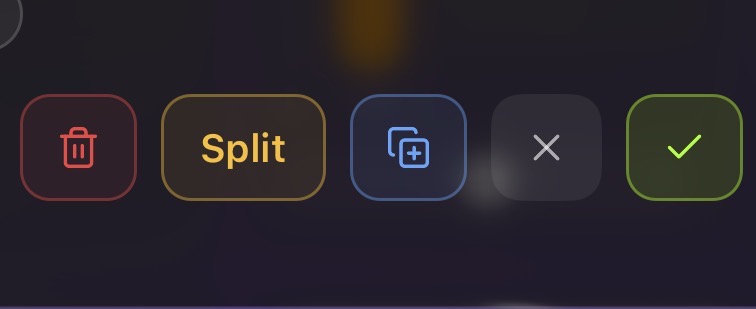
The editor closes and you’re left with two clips on the track, butted up against each other with no gap.
Note: Split acts on the clip’s saved state. Any trim, gain, or fade edits you made in the editor but haven’t tapped Apply on are discarded when you split. Apply first, reopen, then split.
Where You Can Cut
The playhead has to be meaningfully inside the clip. If it’s outside the clip, or within a hair of either edge, you’ll get a “Cannot split here” message — nudge the playhead further in and try again. Audio clips need roughly a tenth of a second of material on each side; MIDI clips need at least a beat.
What Happens to the Two Halves
Audio clips:
- Both halves point at the same underlying audio file with complementary trim points, so the joint is sample-continuous — it plays as if nothing happened.
- Fades stay on the outer edges: the left half keeps its fade in, the right half keeps its fade out. The new inner edges start with no fade (they don’t need one).
- Any time-stretch carries to both halves, so the pitch and speed are unchanged. See Time-Stretch & Fitting Clips to Tempo.
- Automation lanes carry over to both halves and keep playing their own portion of the envelope. See Automation Lanes & Shape Presets.
MIDI clips:
- A note straddling the cut is shortened to end at the cut, and its remainder retriggers at the start of the right half. It’s a musical cut, not a note-perfect one — a long sustained note will sound re-articulated at the split point.
- Instrument automation is recalculated for each half so the envelope you drew still plays exactly as it did before the split.
Both kinds of split are a single undo step. See Undo & Redo.
Crossfading Between Clips
A crossfade overlaps the end of one clip with the start of the next, fading one down as the other comes up. It’s the fix for the click or bump you hear when two unrelated takes meet — different room tone, a truncated cymbal ring, a comp built from two performances.
Crossfades in Homecrate are declarative: you set a crossfade on the earlier clip, pointing at whatever clip follows it. Move things around and the crossfade follows the rule rather than baking into the audio.
Setting a Crossfade
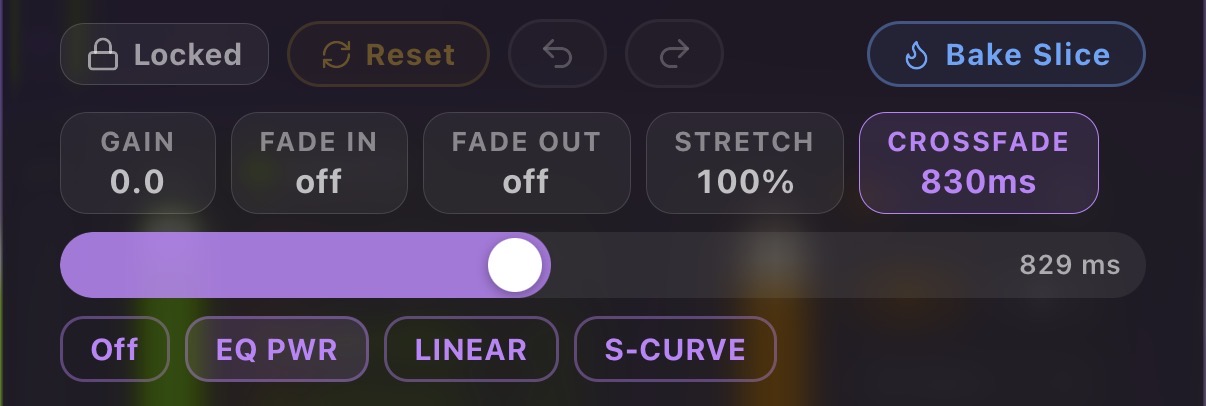
Open the earlier clip’s editor and find the Crossfade → Next section.
| Control | What it does |
|---|---|
| Crossfade → Next | Length of the crossfade, 0–2000 ms. Off at zero. |
| EQ PWR | Equal-power curve (default) — holds a constant perceived loudness through the join. The right choice for most material. |
| LINEAR | Straight-line fade. Sums cleanly when both clips are the same audio (a split seam, a duplicate), where equal-power would bump the level. |
| S-CURVE | Eased in and out at both ends — the gentlest, most invisible transition for ambient or sustained material. |
The Adjacency Rule
A crossfade only engages while another clip on the same track starts at this clip’s end (within about 10 ms). That’s the whole gate.
- If nothing is butted up against the clip, the slider is replaced by the hint “Butt this clip against the next one to enable.”
- If you set a crossfade and later drag the clips apart, it shows “Paused — butt this clip against the next one to re-engage.” Your setting is remembered; slide them back together and it comes straight back.
Split halves are perfectly adjacent by definition, so a split seam is always crossfade-ready.
What Homecrate Does Behind the Scenes
The earlier clip fades out over its last N milliseconds. The following clip is pulled N milliseconds earlier and fades in — and the extra audio it needs comes from material before its trim-in point, so its musical timing never moves and its end never moves. Chained crossfades (A→B→C) stay independent of each other.
Two honest limitations follow from that:
- The next clip needs headroom. If it’s already trimmed right up to the very start of its audio file, there’s nothing before the trim point to borrow. The crossfade then degrades toward a plain butt-spliced fade — still smoother than a hard cut, but not a true overlap. Trim the following clip a little later in the file to get a real crossfade.
- Fades are never shortened. If you’ve dialled a longer manual fade on a crossfading edge, that longer fade wins.
Splitting resets the crossfade on the left half. The seam between two halves of the same file is already sample-continuous — re-fading it would audibly dip a perfect joint. The right half keeps the original clip’s crossfade, since its end is the original end.
Clip Gain and Fades
Every audio clip has its own level and edge shaping, independent of the track fader. Find them at the top of the Clip Edit modal.
| Control | Range | Notes |
|---|---|---|
| Gain | −60 dB to +12 dB, 0.5 dB steps | −60 reads as -∞ (silent). Use this to balance takes before you touch the mixer. |
| Fade In | 0–2000 ms | Shapes the clip’s start. Great for killing a headphone-bleed count-in or a pick scrape. |
| Fade Out | 0–2000 ms | Shapes the clip’s end. Kills truncated reverb tails and room-tone drops. |
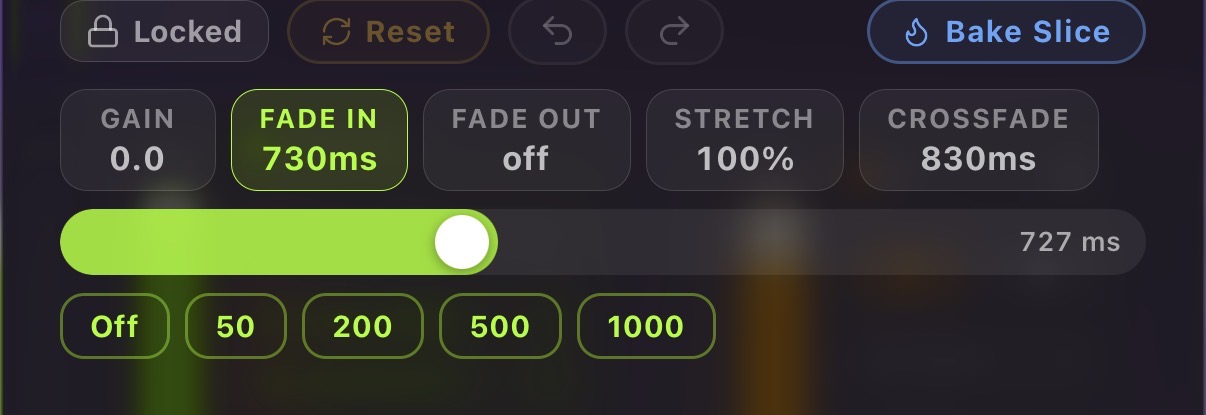
Fades are heard durations: a fade in of 500 ms is half a second on the timeline regardless of any time-stretch on the clip. Order of operations per clip is trim → stretch → gain and fades, so what you dial is what you get, and it’s what lands in a mixdown too.
Tips
- Split, don’t re-record. To replace a bad bar in the middle of a good take, split either side of it, delete the middle, and drop a punch-in clip into the gap.
- Split then crossfade is the standard comping move: cut at a natural gap, drag one half to a different take, then set 20–40 ms of equal-power crossfade at each seam.
- Use LINEAR on same-file joins, EQ PWR on joins between different takes or different sources.
- 20–50 ms fixes clicks. 200–500 ms fixes room tone. A click is a waveform discontinuity and needs almost nothing; mismatched ambience needs long enough to be perceived as a blend.
- Set the playhead precisely before splitting. Pinch to zoom the timeline in first — the split lands exactly where the playhead is, not on the grid.
- Fade out the last clip of a song by 1–2 seconds rather than relying on the mixdown to end cleanly.