Loop Regions
The loop region lets you define a section of the timeline that plays (and records) repeatedly. It’s useful for practicing a part, recording multiple takes over the same section, or simply hearing a section on repeat while you adjust a mix.
Enabling the Loop
Tap the 🔁 loop button to the left of the Audio/MIDI tab switcher. When active, the icon turns blue.
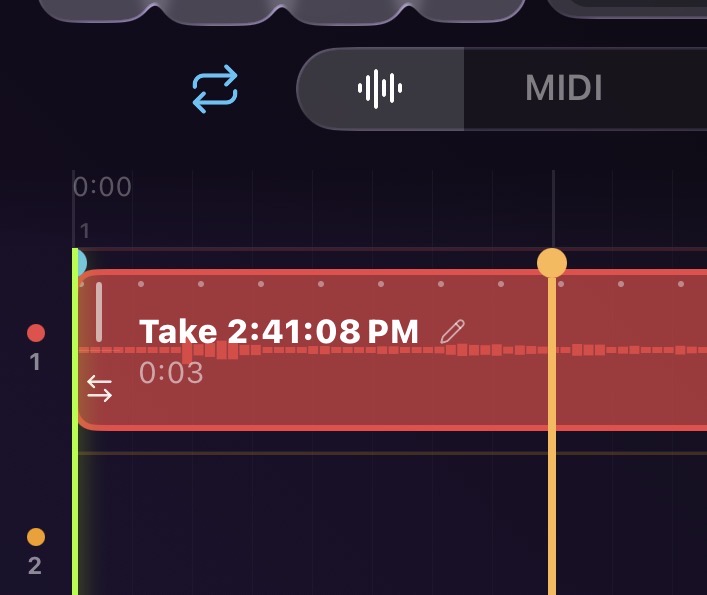
When the loop is active, a blue marker (loop start) and an orange marker (loop end) appear on the timeline. Playback wraps from the loop end back to the loop start automatically.
If no loop points have been set yet, enabling the loop does nothing until you define at least a start or end point.
Setting Loop Points
Method: Long-Press on the Timeline
The quickest way to set loop points is to long-press any blank area of a track row on the timeline. This opens an action menu:
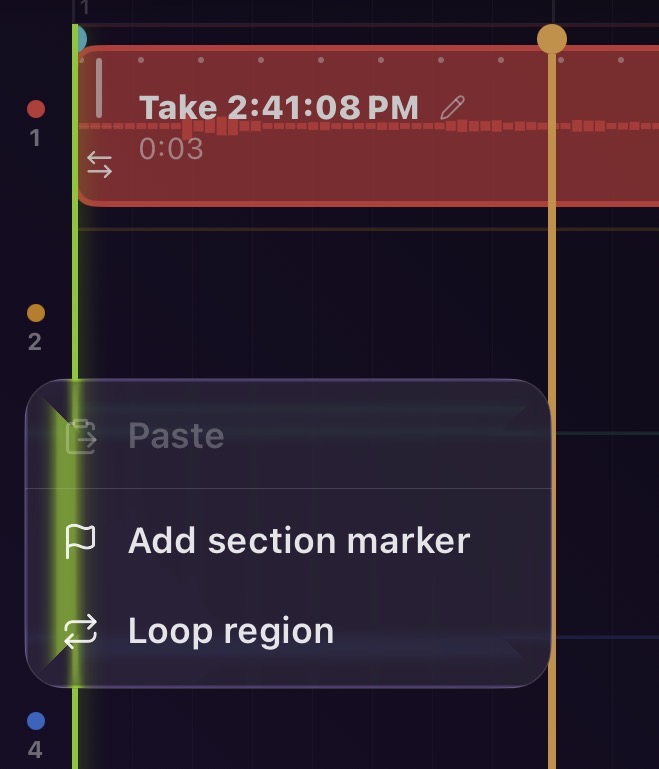
Choose the loop entry from that menu to open the loop popup:
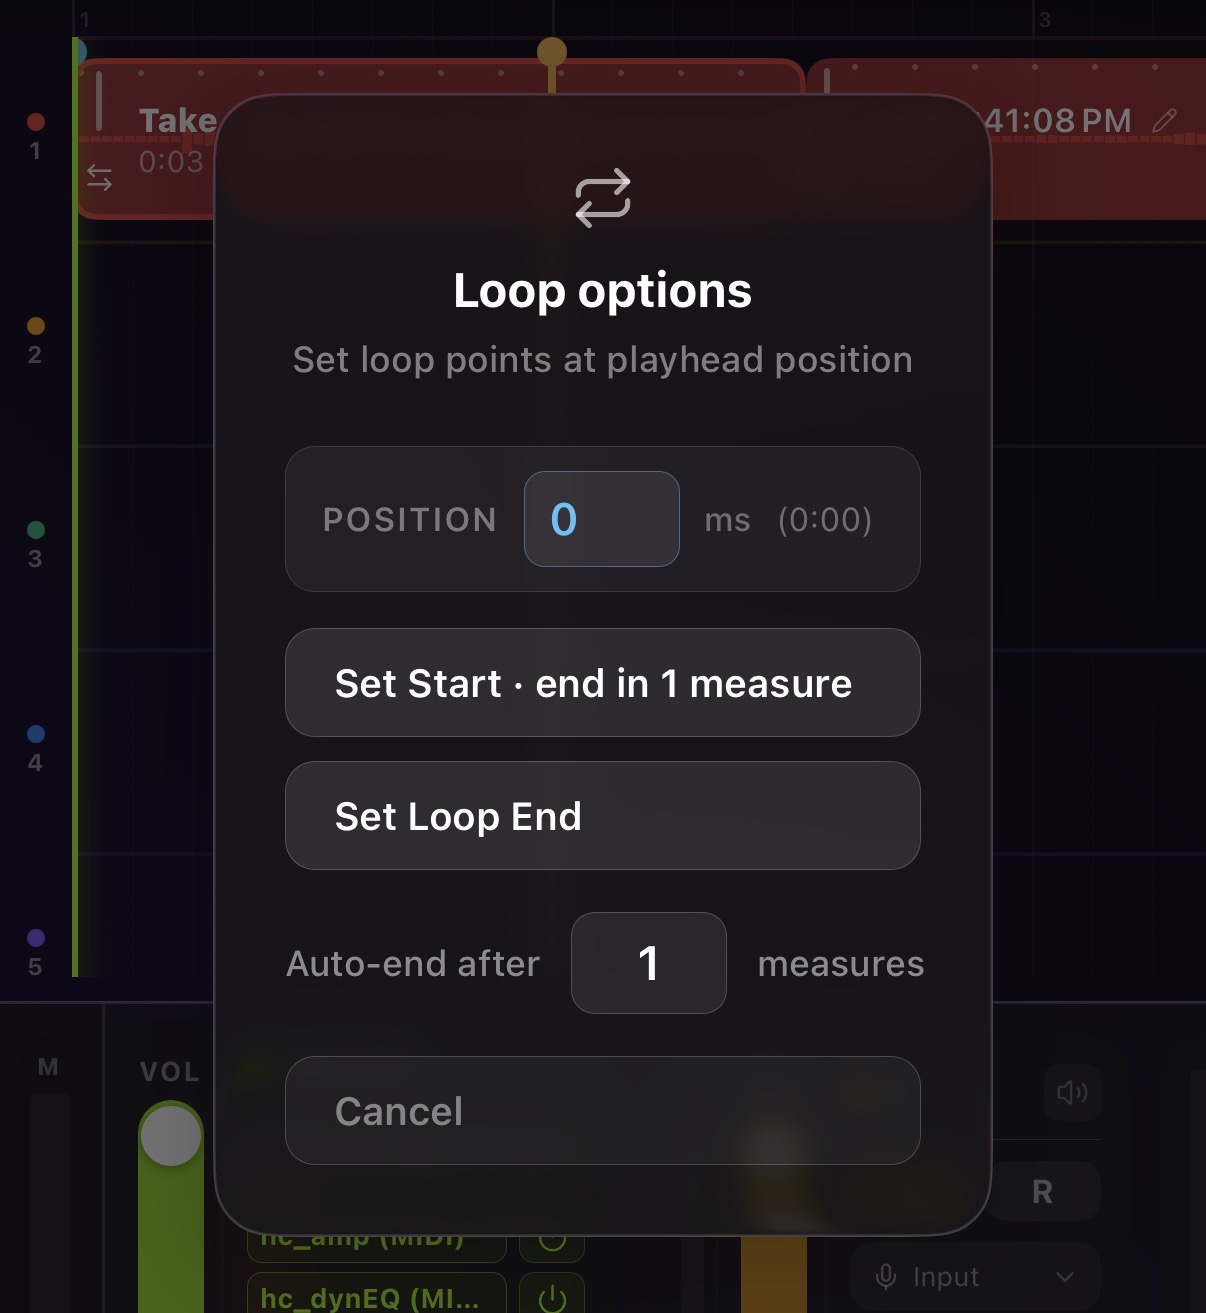
The popup shows a Position editor at the top (in milliseconds and M:SS format), plus two buttons:
| Button | Action |
|---|---|
| Set Loop Start | Places the blue start marker at the position shown |
| Set Loop End | Places the orange end marker at the position shown |
The position captures the playhead’s exact location at the moment you started the long-press — not when you tap the button — so the marker lands where you intended even if the transport is running and you’re quick about it.
Auto-End After N Measures
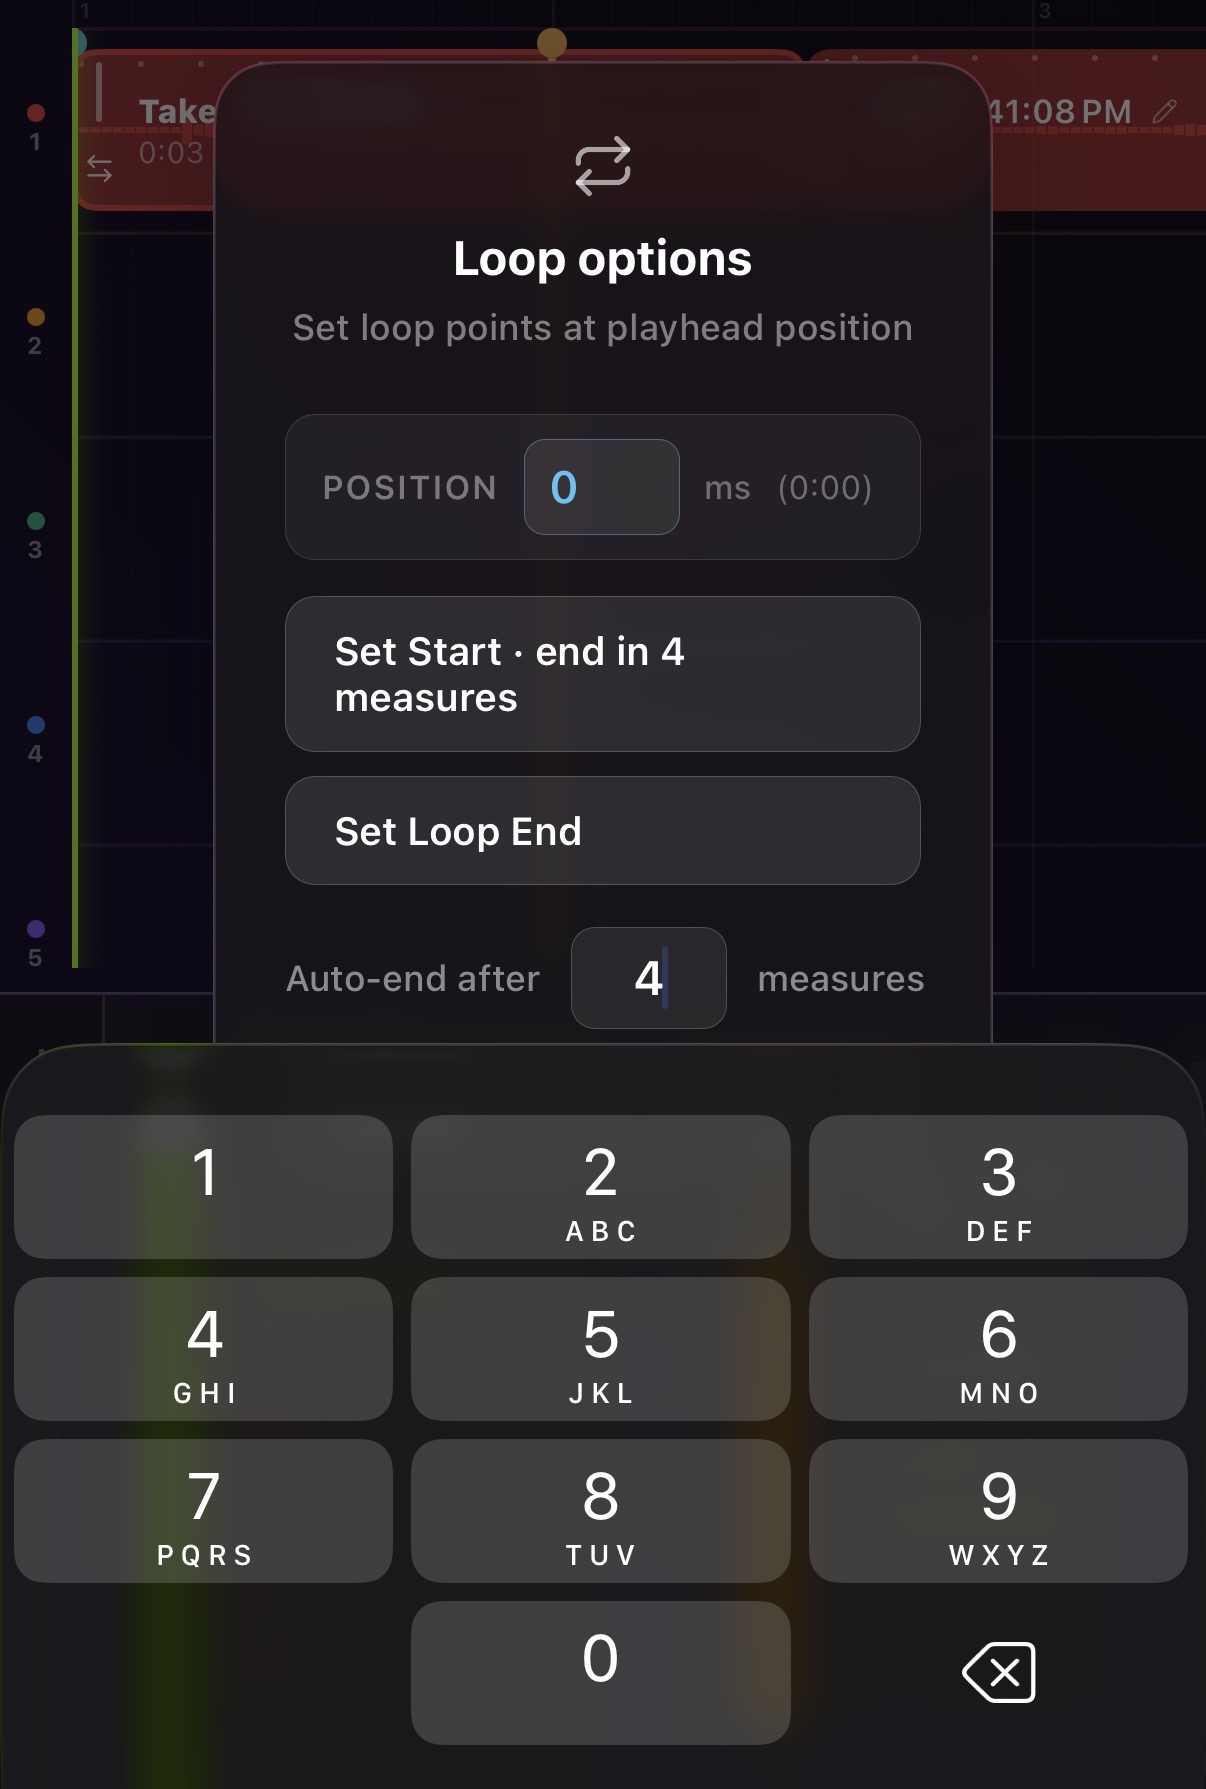
In the loop popup, you can enter a number in the “Auto-end after ___ measures” field. When set:
- Tapping Set Start also automatically places the end marker N measures later
- This is the fastest way to loop an exact number of bars: seek to the start of a section, long-press, type “4”, tap Set Start → done
Fine-Tuning the Position
The Position editor in the popup shows the captured playhead time in milliseconds. You can type a new value to place the marker at a precise position.
The M:SS hint (e.g. “(1:30)”) updates as you type so you can verify the position in human-readable time.
Clearing Loop Points
To remove the loop region:
- Long-press a track row to open the loop popup
- Set the start and end to the same position (or simply disable the loop toggle)
Or just tap the 🔁 loop button again to disable the loop without removing the markers — the markers stay on the timeline and will be active again the next time you enable the loop.
Looping During Playback and Recording
When the loop is active:
- Playback wraps seamlessly from the loop end to the loop start
- Recording also wraps — you can lay down multiple takes over the same section in one continuous pass. Each wrap creates a new clip starting from the loop start position.
- MIDI playback restarts cleanly on each loop wrap — note-offs are sent for all active notes before re-scheduling from the loop start. This prevents stuck notes.
Loop Markers on the Timeline
The loop start (blue) and end (orange) markers appear as thin vertical lines with a small handle at the top. They’re visible on all track rows simultaneously.
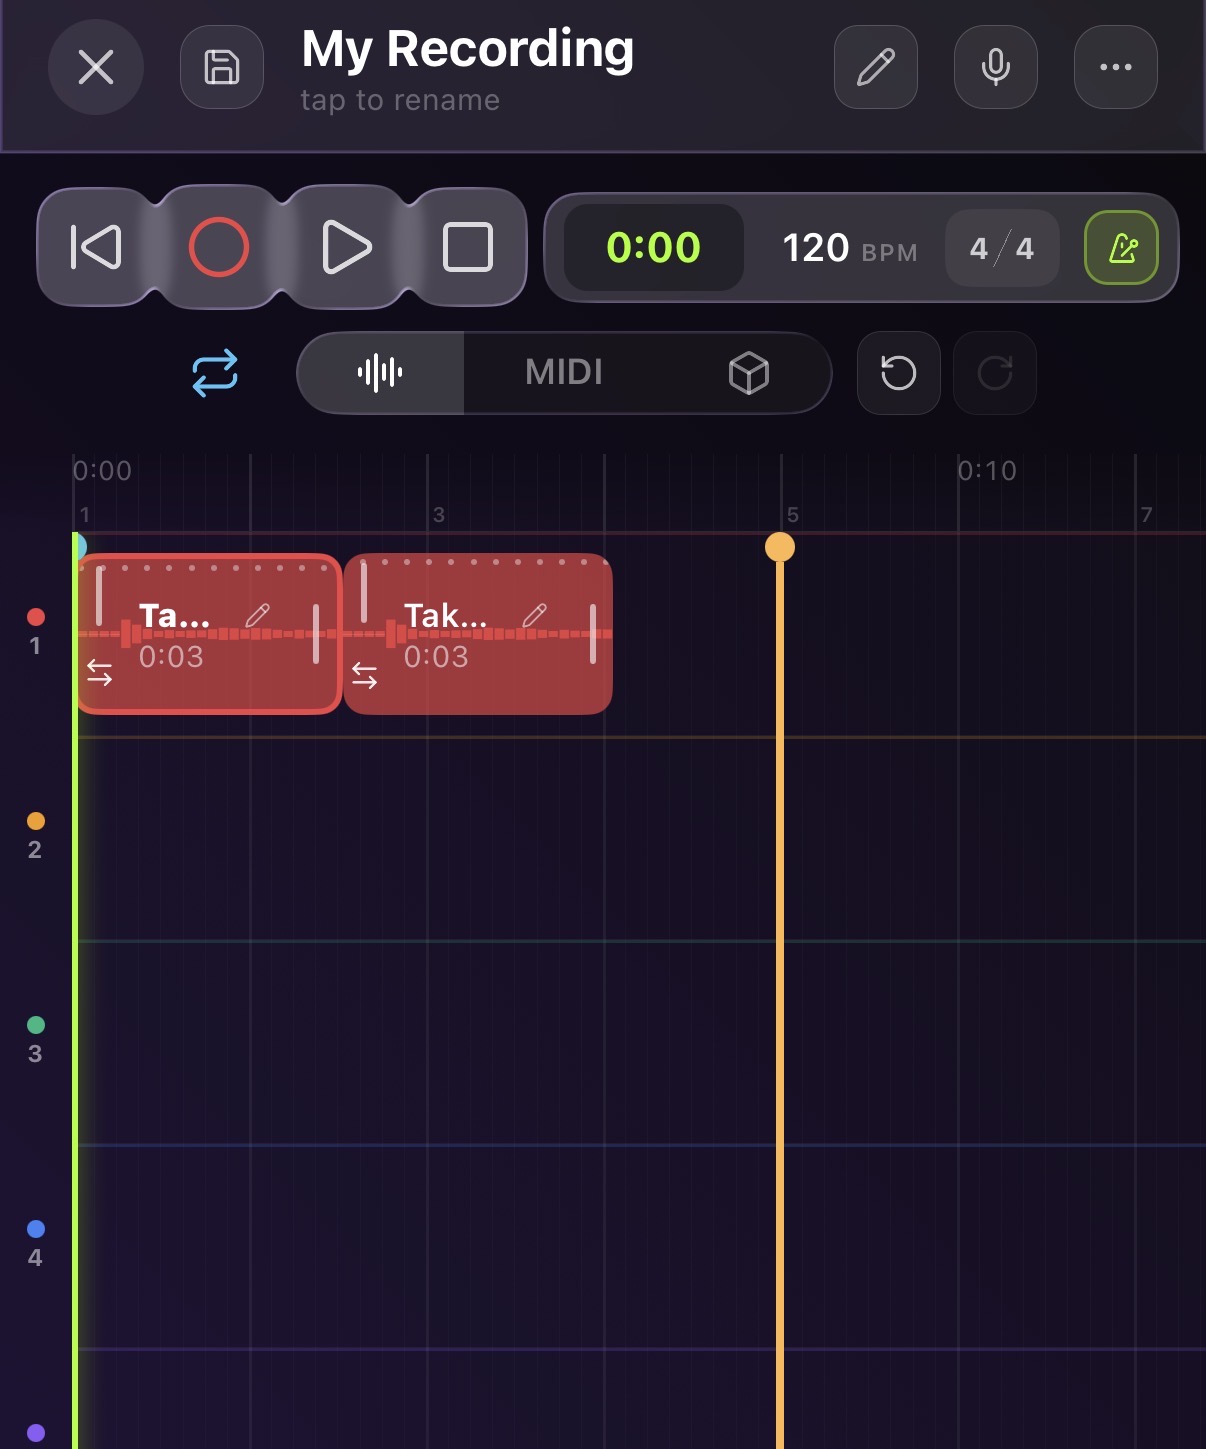
The markers are display-only and cannot be dragged — use the long-press popup to reposition them.
Tips
- Use Auto-end after N measures to instantly loop an exact musical section without counting time in milliseconds
- During a recording session, set a loop around your verse or chorus and leave recording running — each pass adds a new take that you can later choose from
- The loop region is saved with the project, so your loop points persist between sessions