Overview & Interface Tour
Homecrate is a multitrack audio and MIDI recorder for iPhone and iPad. It gives you 8 audio tracks (expandable to 16 with Pro) and 8 MIDI tracks, AUv3 plugin support, a piano roll and drum step sequencer, spatial audio, collaborative sessions over Wi-Fi, and an AI music assistant — all in one app.
This page walks you through every region of the interface so you know what you’re looking at before you hit record.
The Four Main Regions
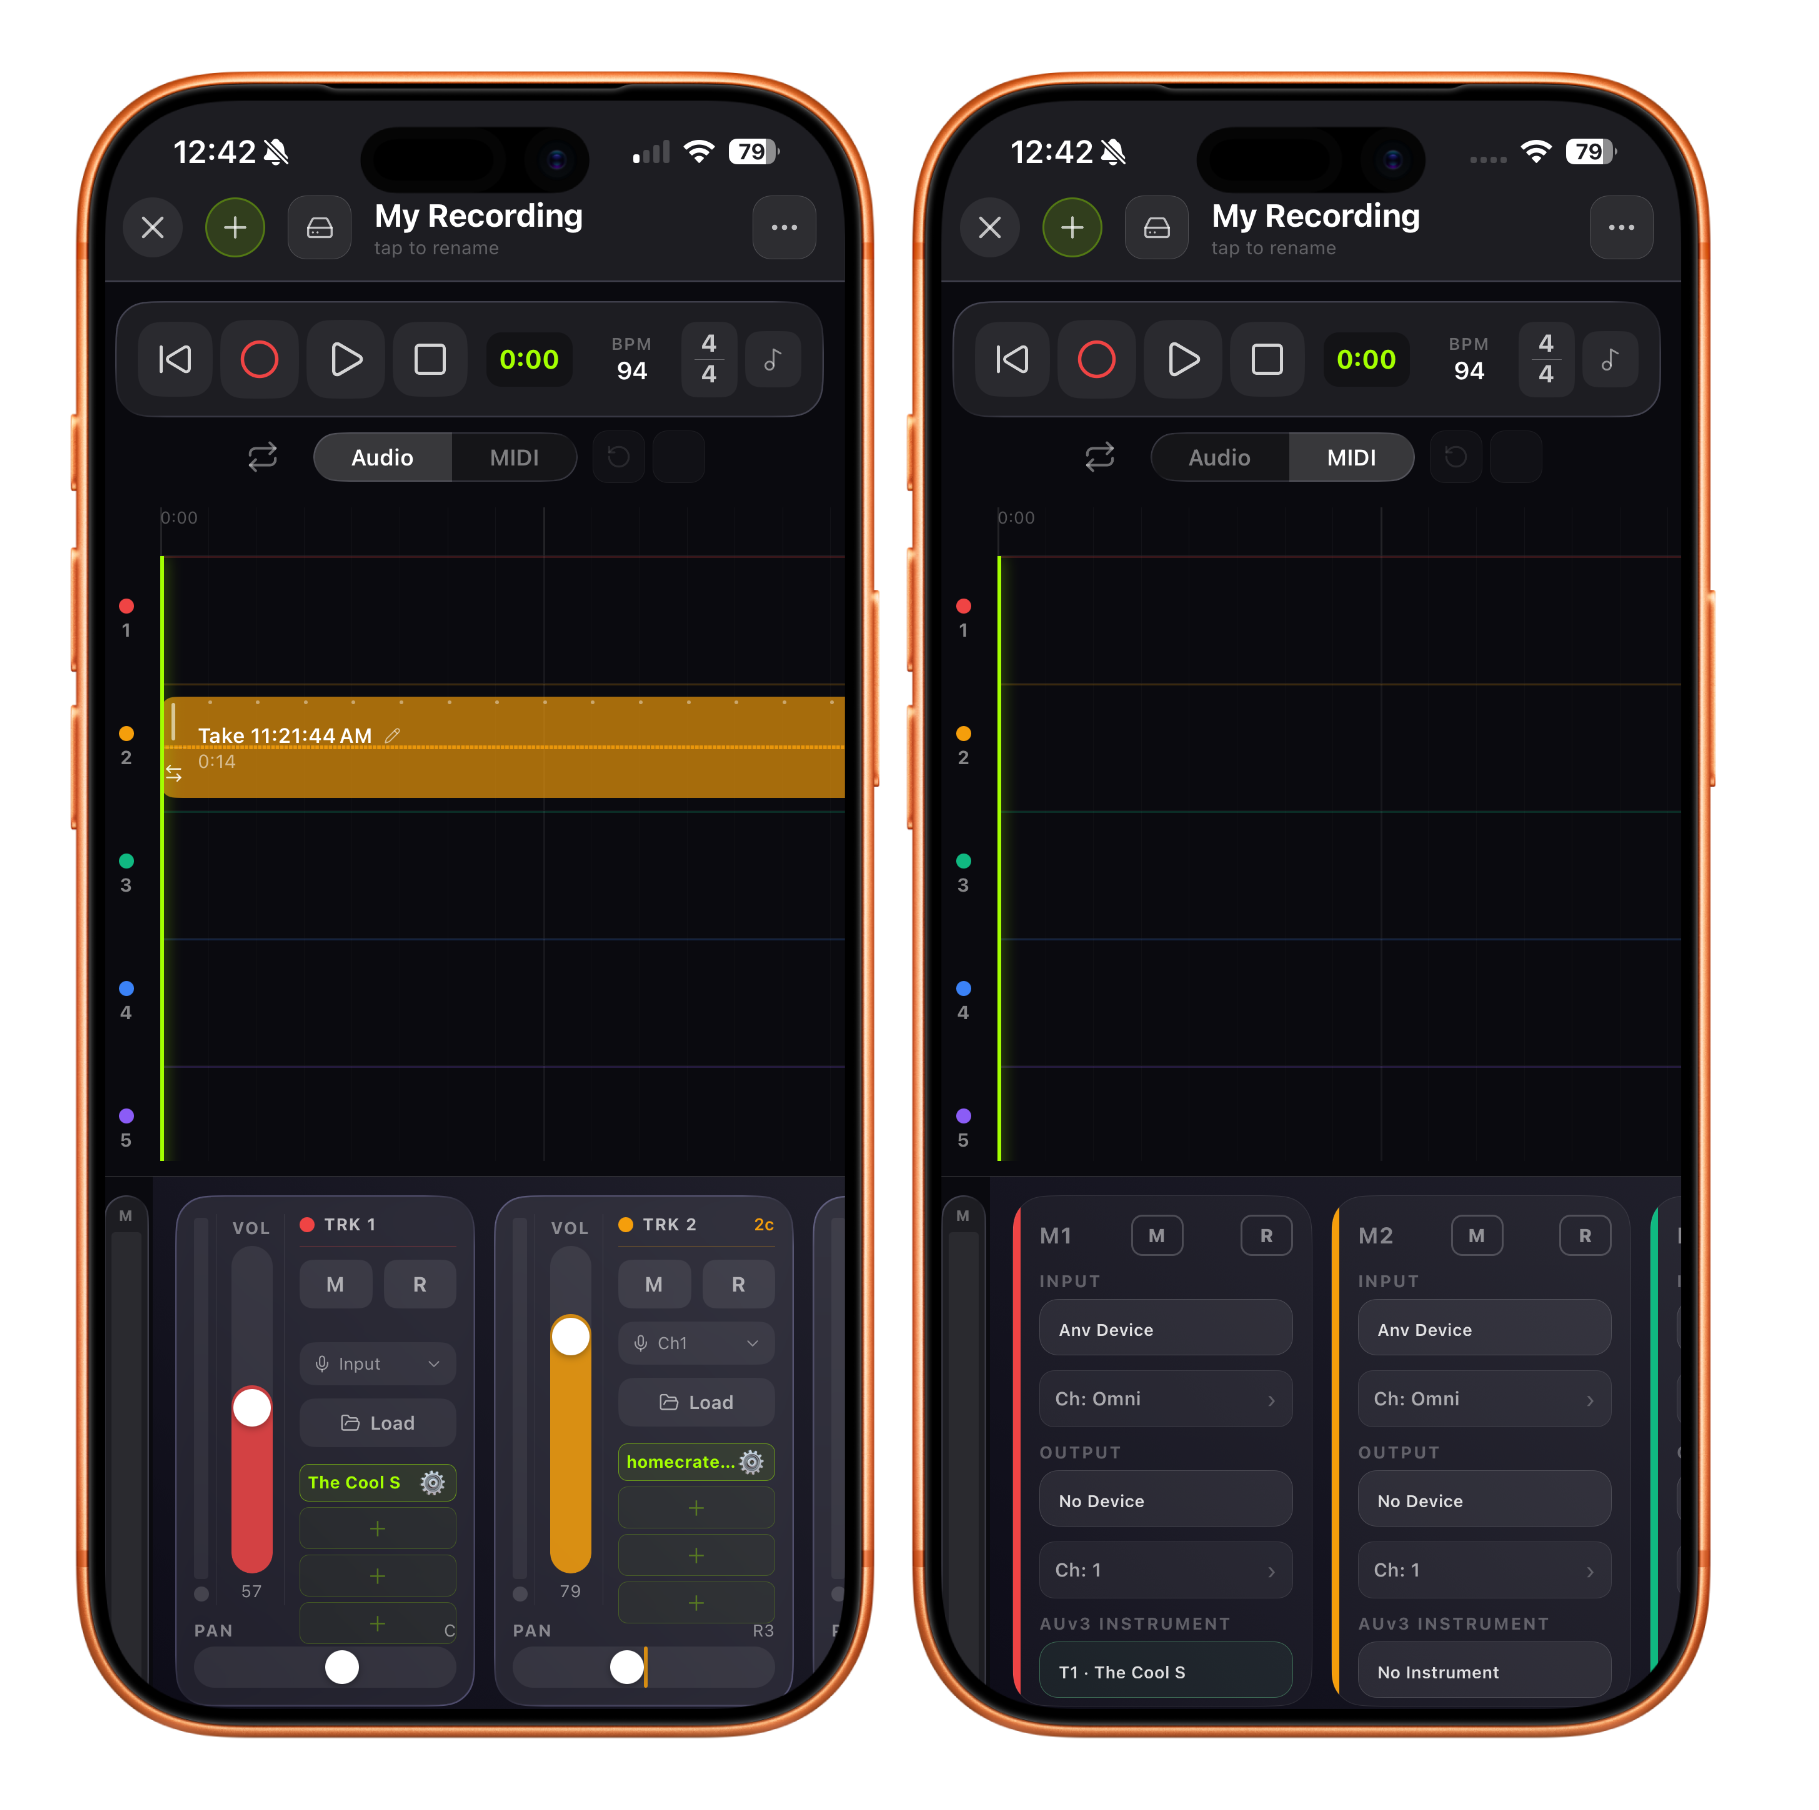
1. Header Bar
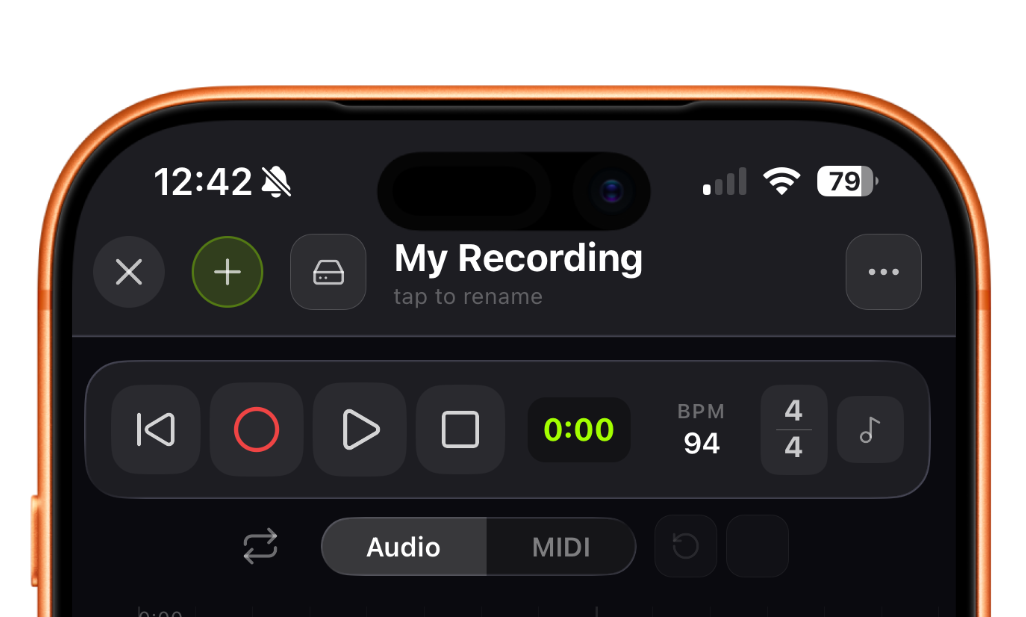
The header runs across the top of the screen and contains:
| Element | What it does |
|---|---|
| ✕ (close) | Saves the project and closes the recorder |
| + (new project) | Creates a new blank project (auto-saves the current one first) |
| 💾 (save) | Saves the project immediately; turns green with a checkmark on success |
| Project name | Tap to rename the current project |
| ✎ (edit project) | Opens project settings — album art (used as the recorder background) and an optional song video for spatial export |
| 🎙 (AI voice) | Toggles always-listening voice commands (Pro); pulses while listening, paused during recording |
| ⋯ (more menu) | Opens the overflow menu: export mixdown, export stems, open project, new project, add clip, lyrics, looper (Pro), tuner, chat (Pro), record video (Pro), and settings |
2. Transport Bar
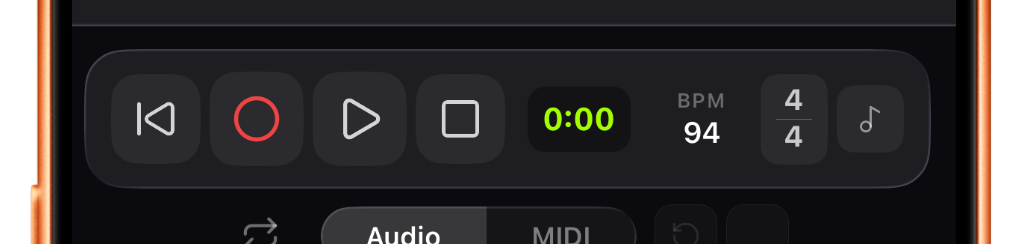
The transport bar is your playback and recording command center.
| Control | Function |
|---|---|
| ⏮ Rewind | Returns the playhead to 0:00 |
| ⏺ Record | Starts recording on the armed track (disabled in Spatial mode) |
| ▶ Play / ⏸ Pause | Starts or pauses playback |
| ⏹ Stop | Stops playback or recording; preserves the current playhead position |
| Position display | Shows the current playhead time (M:SS). Tap to type a time and jump there. |
| BPM field | Type a number to change the project tempo |
| Time signature | Shows current time sig (e.g. 4/4). Tap to open the time signature picker. |
| ♩ Metronome | Toggles the metronome click track on and off |
3. Track Mode Tabs & Undo/Redo

Just below the transport bar:
- Audio / MIDI / Spatial tabs — Switch the timeline and mixer between audio tracks, MIDI tracks, and Spatial mode (Pro). Audio and MIDI are independent lane sets that both exist in every project. See Spatial Mode Overview.
- 🔁 Loop toggle — Activates the loop region. When lit blue, playback loops between the loop start and end markers. See Loop Regions.
- ↩ Undo / ↪ Redo — Steps through your edit history: clip delete, move, and trim, plus undoing a recording (undo a fresh take to send its file to quarantine, remove the clip, and jump the playhead back to the start for a quick re-take). See Undo & Redo.
4. Timeline
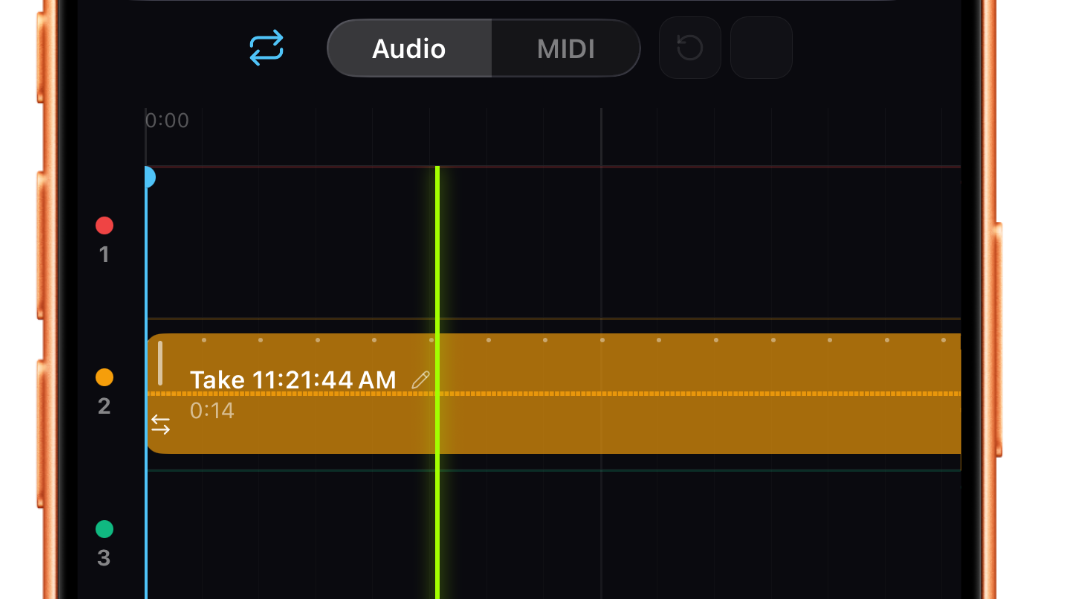
The timeline is the main editing canvas. It has two axes:
- Horizontal — time, moving left to right. The ruler at the top shows M:SS timestamps and beat grid lines.
- Vertical — tracks, one row per track (8 audio by default — up to 16 with Pro — or 8 MIDI).
Navigating the timeline:
- Scroll horizontally to move through time.
- Scroll vertically to see all track rows if they don’t all fit.
- Tap anywhere on an empty track row to move the playhead to that position.
- Long-press an empty track row to open loop point and clip-paste options.
The playhead is the thin green vertical line. It moves during playback and recording.
Track row labels (the narrow left column) show the track number and a color dot. Track colors are fixed per track and carry through to clip display and mixer strips.
The + lane (Pro): below the last audio track row, a + appears in the timeline. Tap it to add another audio track, up to 16. See Adding & Removing Tracks.
5. Mixer
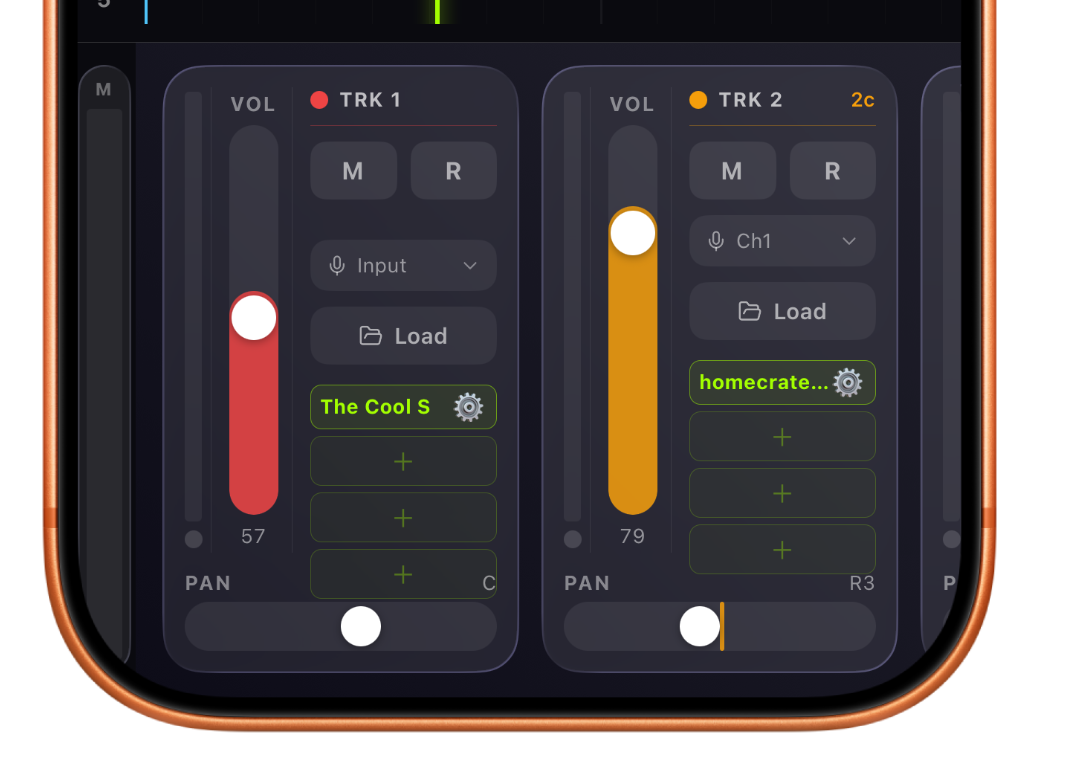
The mixer sits at the bottom. Scroll it horizontally to see every channel strip (one per track).
The master strip (far left, labeled M) shows the overall output level. It has a pull-out drawer — tap the chevron handle to slide out the master channel with its own volume, mute, and 4 plugin slots for bus/mastering processing (e.g. homecrate amp running NAM in stereo across the mix). Each master plugin slot has a power toggle so it can stay loaded but fully disconnected — zero added latency — while you record. See Adding & Removing Tracks.
Each channel strip contains (top to bottom):
- VU meter with an arm/monitor indicator pip
- Volume fader (vertical slider) — also sets the monitoring level
- Track number and color dot
- Monitor button (speaker icon; orange when live-monitoring)
- Mute (M) and Arm/Record (R) buttons
- Input source selector (hardware input or Plugin Output)
- Load button (import a file)
- AUv3 plugin slots (up to 4 per track)
- Pan slider (horizontal, at the bottom)
In MIDI track mode, the strip is replaced by a MIDI channel strip showing input device, output device, channel selectors, and AUv3 instrument routing. See MIDI Tracks Overview.
In Spatial mode, the mixer shows spatial position pickers instead of pan sliders. See Spatial Mode Overview.
Floating Panels
Two panels can float freely over the interface:
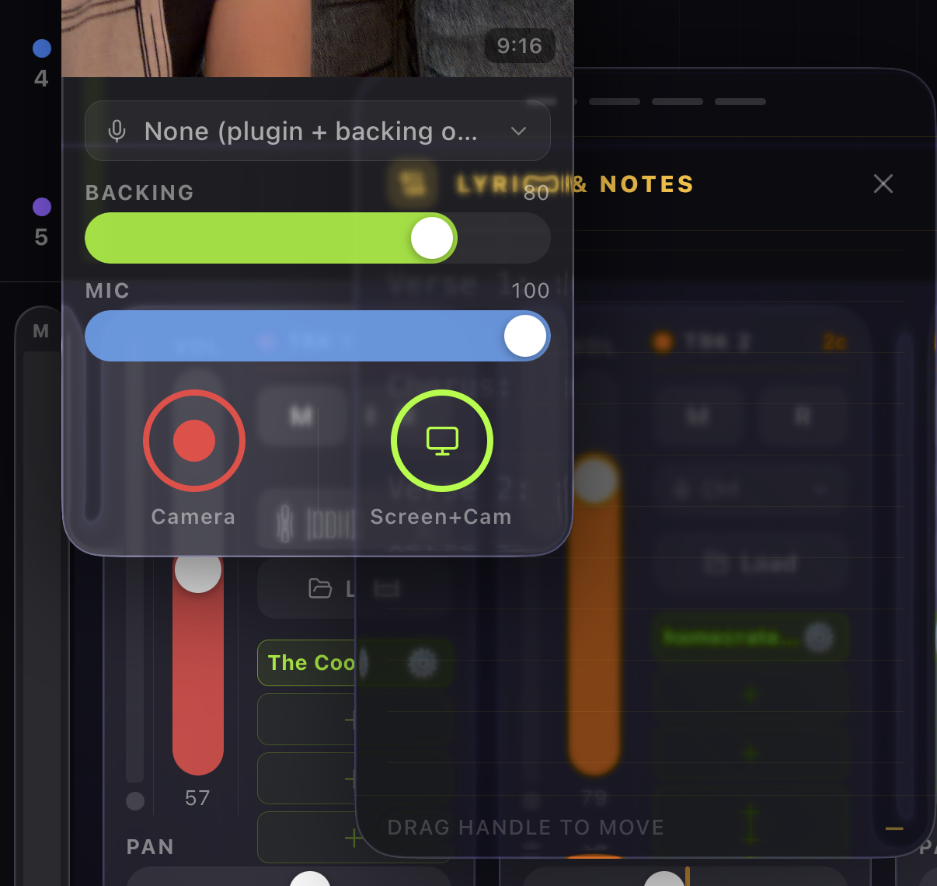
- Lyrics & Notes panel — A sticky-note style text pad for lyrics or session notes. Open it from the ⋯ menu. Drag by its handle bar to reposition.
- Camera overlay — A video recording overlay for capturing performance video in sync with audio. Available in the ⋯ menu when not in Spatial mode.
Next Steps
- Ready to record? See Your First Recording.
- Want to understand the grid and BPM? The ruler above the timeline shows M:SS timestamps and beat grid lines drawn from the project tempo you set in the header’s BPM field. See Time-Stretch & Fitting Clips to Tempo for working to that tempo, and Tuner & Metronome for the click and time signature.
- Loading existing audio? Imported files land on the timeline as clips — see Working with Audio Clips, or The Sample Crate to pull samples in from your computer.